So, I accidentally made myself a Lakers themed thread catcher. I am so not a Lakers fan, but I do love the catcher! Follow along to make your own. It took me about an hour and cost next to nothing, as I used scraps. But if you do need to buy, it will probably cost less than $10, if you buy remnants or fat quarters.
Normally, I would just slip a plastic bag under my serger and that would catch the threads, but it was ugly. And sometimes my legs would get in the way, move the bag to the side and my scraps would end up all over the floor, defeating the whole purpose of having a catcher bag in the first place!
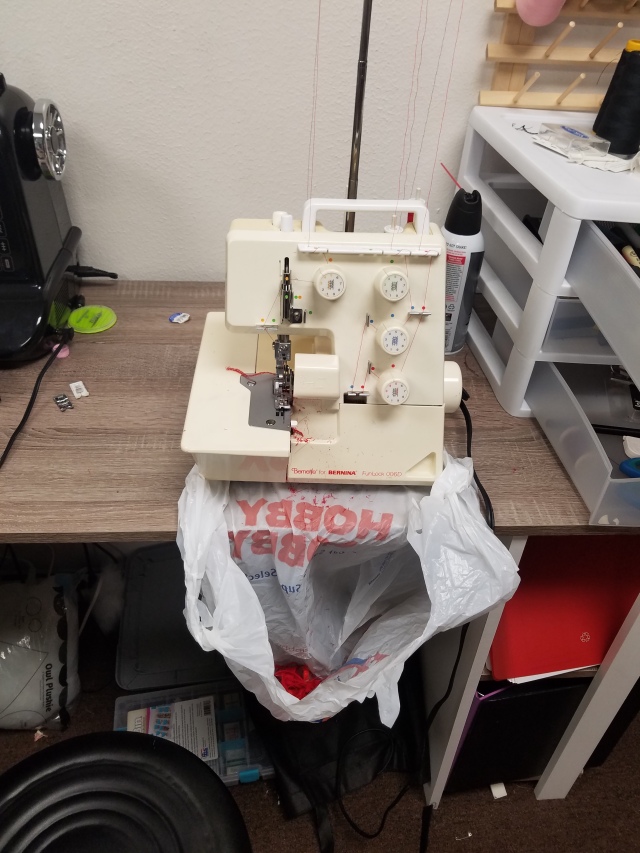
I decided to make a thread catcher. To start off, I measured my serger. The width of the front, and also the width from the cutter to the side. For me, that was 9 inches total, and 7 inches for the smaller part.


I also measured from the table top to my leg, going up on tip-toe so I knew there would be plenty of room for my legs.

Now, I drew out a very poor sketch with all the measurements I needed. I decided I wanted the bag itself to be 3 inches deep and the mat that the serger would sit on to be 4 inches.

The entire thing is made from random scraps of fabric. The outer part (purple fabric) is a duck canvas. So it is super sturdy and stiff. Exactly what I wanted. I took all my measurements and added an inch for seam allowance, then drew the lines directly onto the fabric. I decided I wanted the bag to be detachable, so I added a little flap to the mat that would hang down from the table.

Once cut, I had one piece on fold 7 x 10 inches (the mat), two pieces 7 x 8 inches (the front and back), two pieces 4 x 7 inches (the sides) and one piece 4 x 8 inches (the bottom).
First, I started on the mat, sewing up the sides to the fold.
Once sewn, I measured along the fold about 2 inches in from the seam.

Then, I sewed along those lines I had just drawn. I cut about 1/4 inch away from the seam, plus a little nip at the corner.


Turn it right side out, press and top stitch, closing the top as you stitch.

As I said before, I wanted to make it detachable, so I measured in 3/4 inch down and 1 inch in on both sides. Plus one more mark right in the middle of those two edge ones. Then I added in some snaps. Note: I use a tool to place my snaps, bought from Hobby Lobby. If you don’t have this tool, or don’t want to purchase it, you can always use the sew on snaps.


Set the mat aside to work on the bag.

For the bag, I used a 1/2 inch seam allowance, and I stopped my seams about 1/2 inch from the bottom. This will make adding the bottom panel SOOOOOOO much easier.

Sew a 7 x 8 inch piece to a 4 x 7 inch piece. Then sew the other 7 x 8 inch to this. Keep going around until you have a 3D rectangle. I also pressed and top stitched the seam allowances towards the smaller panels for more support and security.
 Take the 4 x 8 inch piece and attach it to the bottom of the bag, utilizing the space that was not sewn in the previous step. I find it easiest to do the long sides, then the short. Go slow and make sure you are only sewing through two pieces of fabric.


Next, I pinned the unfinished bag to the mat so I could map out exactly where the snaps needed to go. I used a silver sharpie so it was easy to mark and easy to see!
 Add your snaps. I ended up putting them higher than my marks, but this part it totally up to you. Once you get your snaps on, actually attach it to the mat to make sure you really do like it.
Now, make the lining using the same exact steps listed above.
Once that is done, pin lining to the bag and sew it up. I kept the back open, allowing for space to turn the lining right-side out.

Top stitch the opening, and VOILA! A scrap catcher bag!

If you make one, I would love to see how yours came out! Post a pic in the comments. Also, I know this is my first real tutorial, so please, let me know if it is actually followable. I know I’m not always the most understandable person. I get excited!


